Materials to get started !
Printmaking for everyone!
I believe that printmaking is actually easy to learn, gives great results early on in the learning process and it can be done at home with just a few supplies and a bit of DIY attitude. I am going to cover materials to start printmaking at home, focusing on the relief printmaking family and DIY etching/monotype techniques. All the ones you can do at home without a press or expensive supplies.
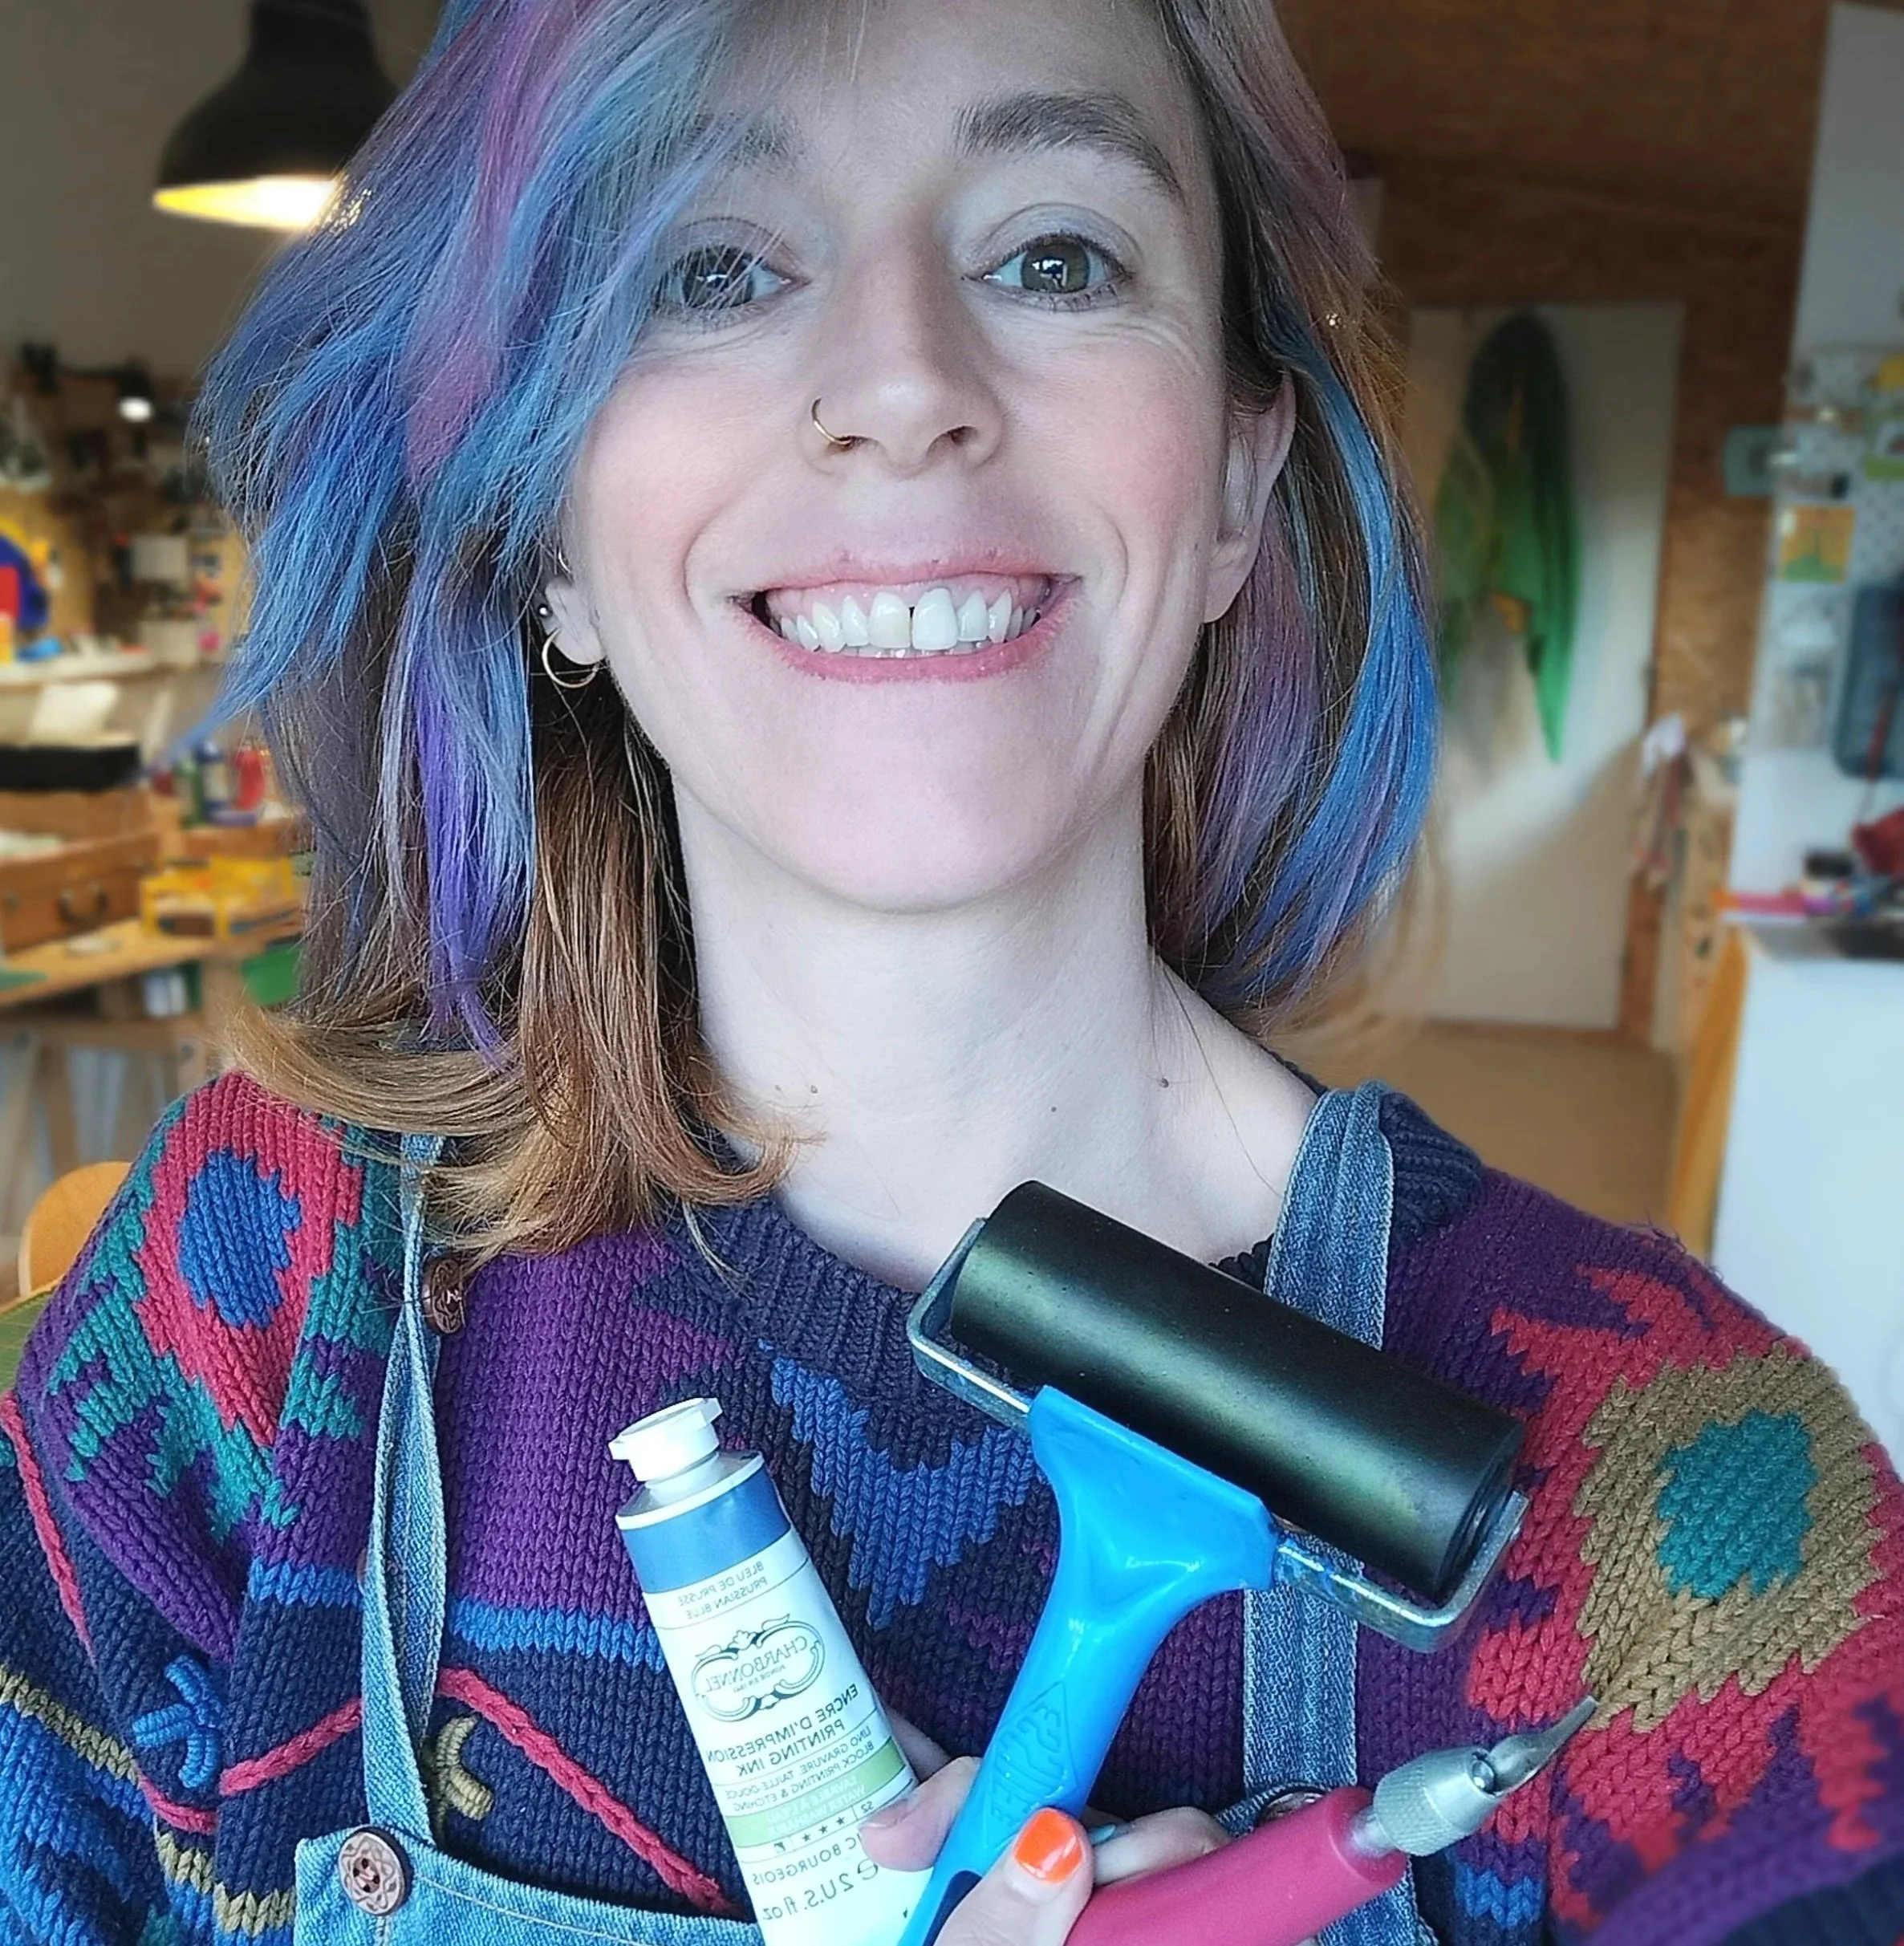
In the studio with my fav tools ! photo credit Emilie Walsh 2025
The shops I recommend in this article are Naarm/Melbourne based, but if you are based elsewhere you should be able to find equivalents or order online.
Printmaking is done in three steps: Carve/etch, ink and print! So here's what you need for each step.
Carving and etching
So first, you'll need printmaking plates or blocks, to create your matrix. Printmaking is basically creating big stamps, so let’s see what you can use at home : linoleum, wood, vinyl, rubber - for the relief printmaking family - and acetate, perspex or even milk carton for recycled printmaking!
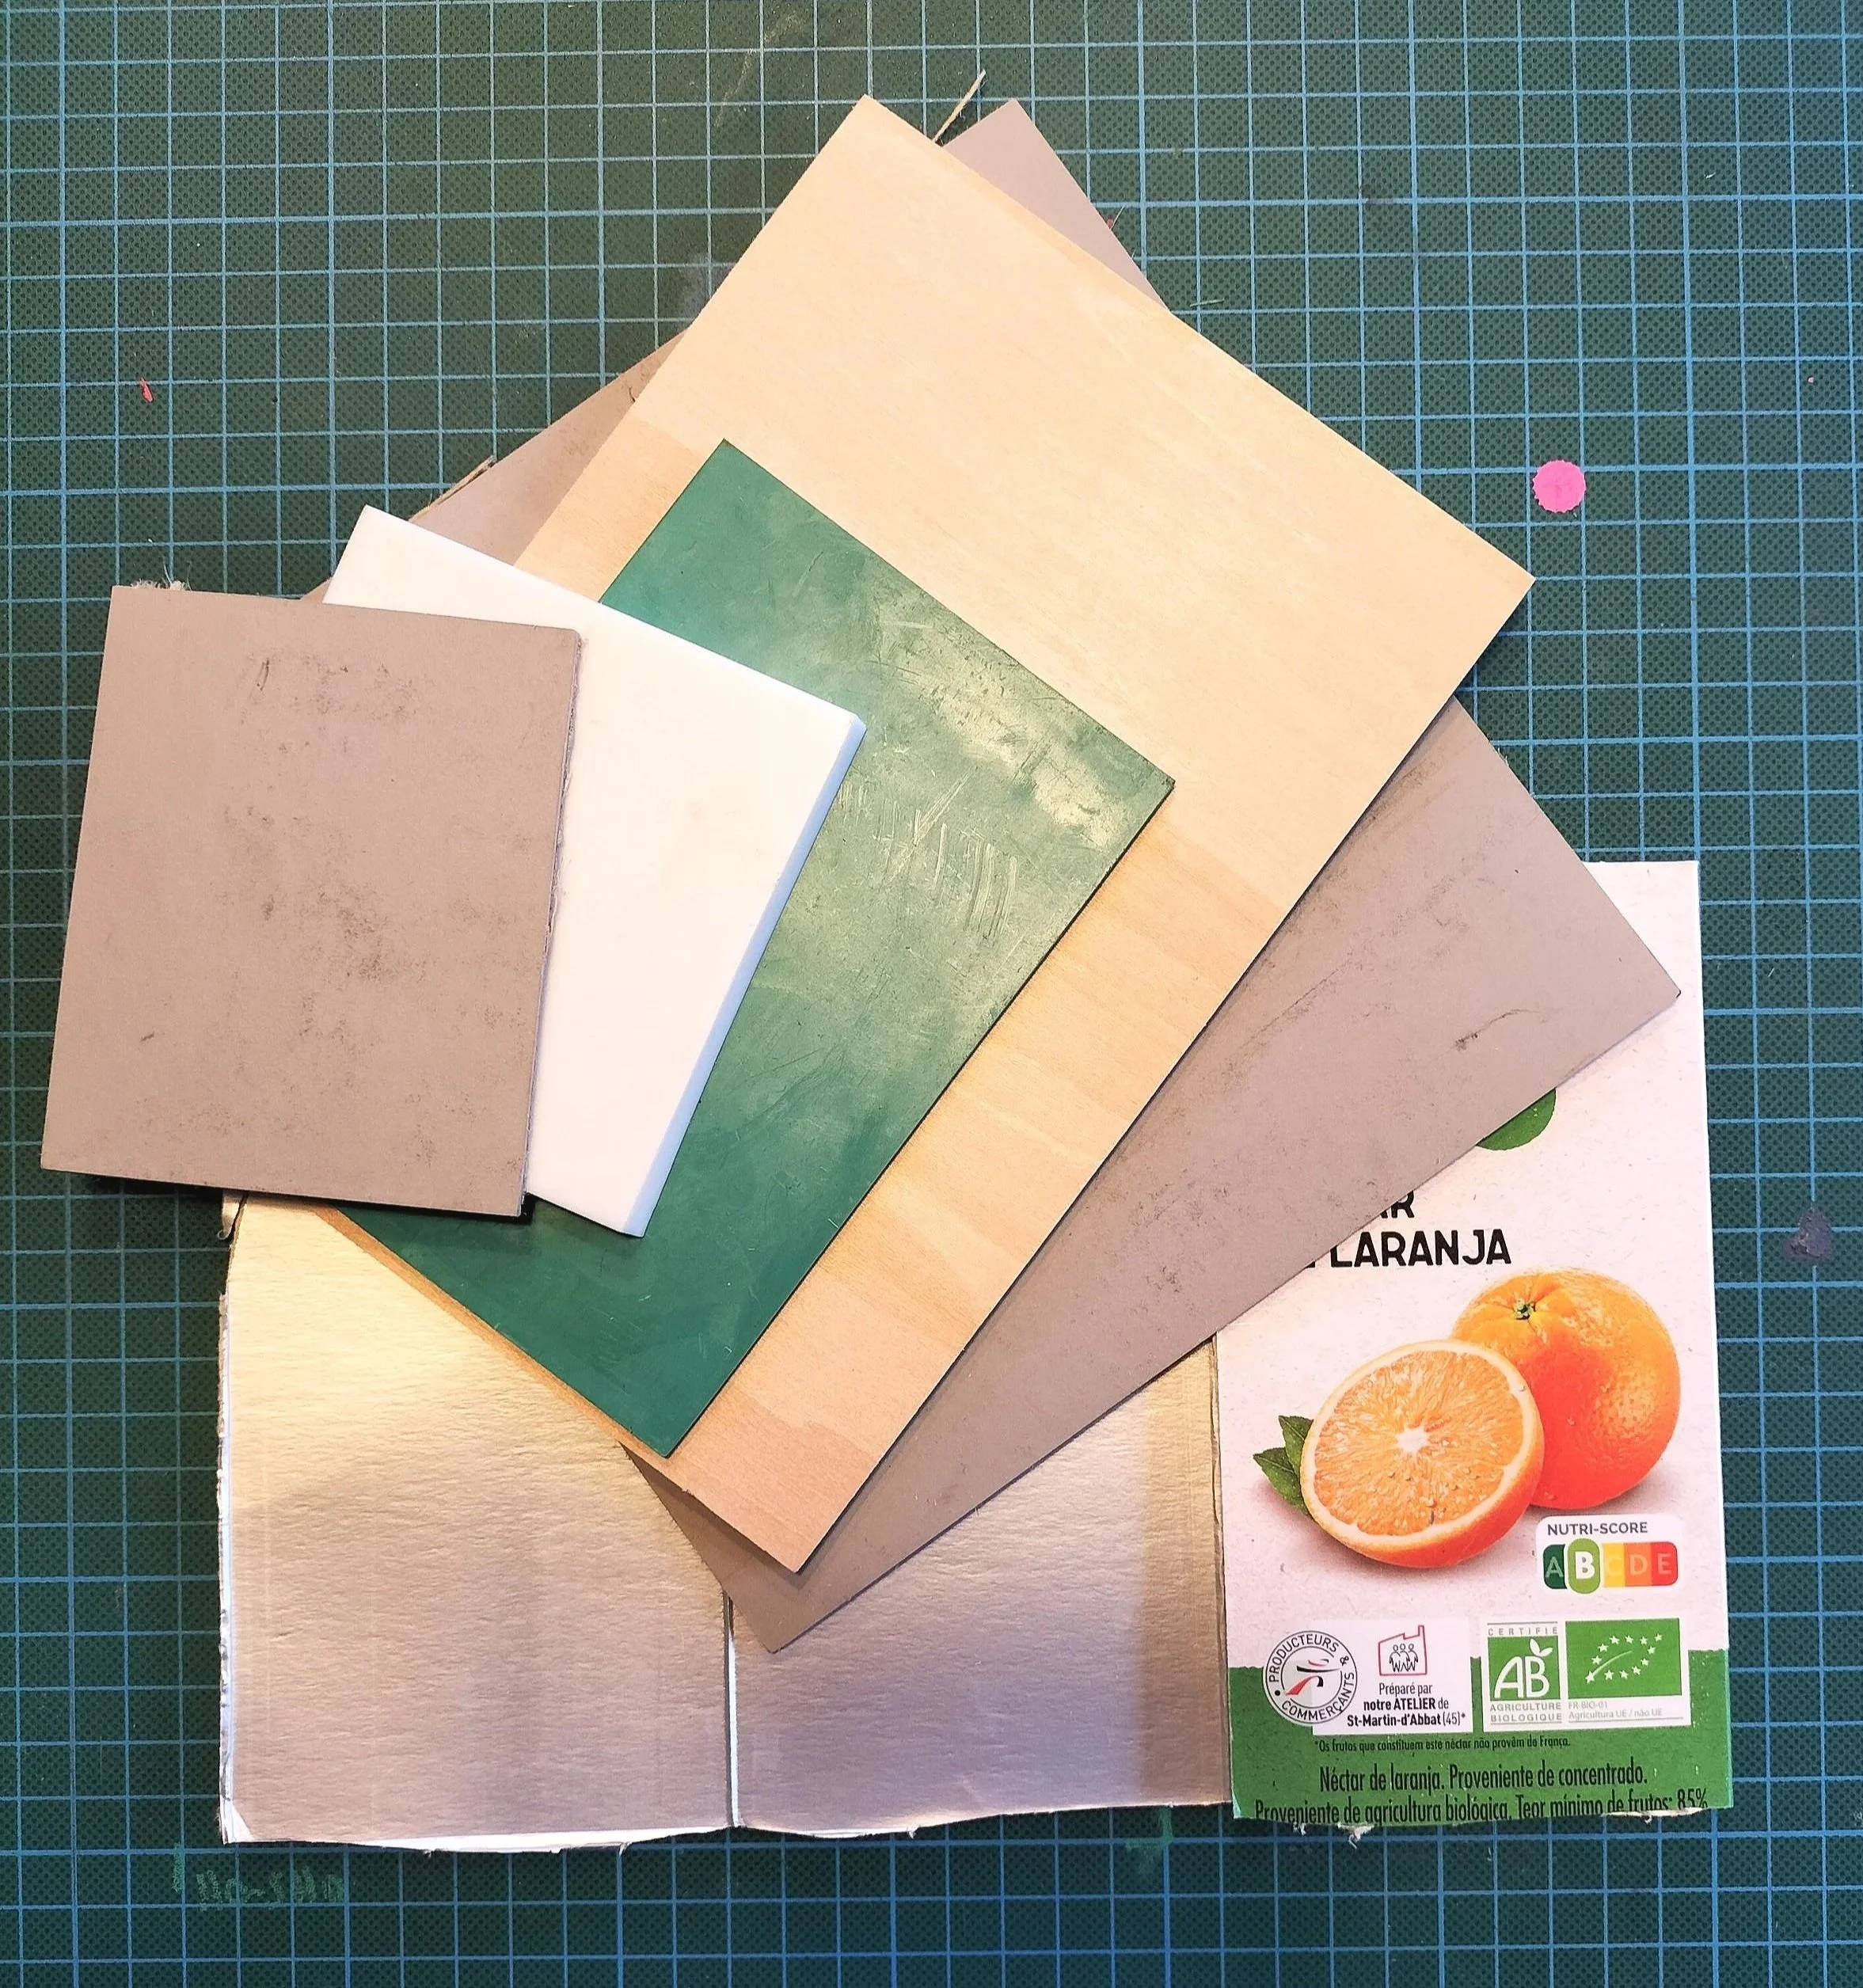
A variety of plate to carve and etch : grey lino, white rubber, green vinyl, carving plywood, lino and milk carton. Photo credit Emilie Walsh
Linocut is the most commonly used material for relief printmaking You can find lino plates in most art shops chains in Australia, like Deans Arts or Eckersley’s and sometimes Officeworks and Spotlight stocks print supplies as well. In the inner north, I like to shop at Melbourne Artist Supplies in Brunswick, as they are well stocked and friendly. And we are very lucky in Naarm, as we have some specialty shops that will stock everything you need, such as Melbourne Etching Supplies in Fitzroy : a treasure trove for printmaking and a very knowledgeable team !
If you've taken a class at my studio, you know that I mainly work with vinyl (sometimes called green linoleum) and rubber. You can also find it at art supply stores or buy it directly from me at the studio. Sometimes, large Officeworks such as the Fitzroy one, will stock some cheap carving vinyl too. I also like to use carving rubber, which can be a bit more expensive, so that’s why I mostly use it for smaller plates, modular design and stamp making. Again, you can find it in most general art stores : look for the pink one (speedball), or the white ones, but I wouldn’t recommend the off-white/cream colour ones, as it’s graining and crumbly.
For dry point etching and monotype, I use acetate plates, which you can find in most art shops. And for a recycled printmaking option, you can also try etching on milk cartons! It's a great technique for practicing printmaking with recycled materials and utilising your old milk cartons, which are unfortunately difficult to recycle. I offer milk carton printmaking classes at the studio to help you get started!
To carve your plates, you'll need carving tools or gouges. All the art shops listed previously would stock them. The good news is that you don't need to break the bank, and there are inexpensive, good-quality products available to get you started. In my studio, I have a collection of professional gouges, but I always find myself going back to my good old simple gouges, the ones I use for my classes. You can buy a set of 5 gouges from me at my studio or after my classes (€30). Alternatively, Speedball brand gouges are great and practical with their reservoir handles for storing the different carving bits.
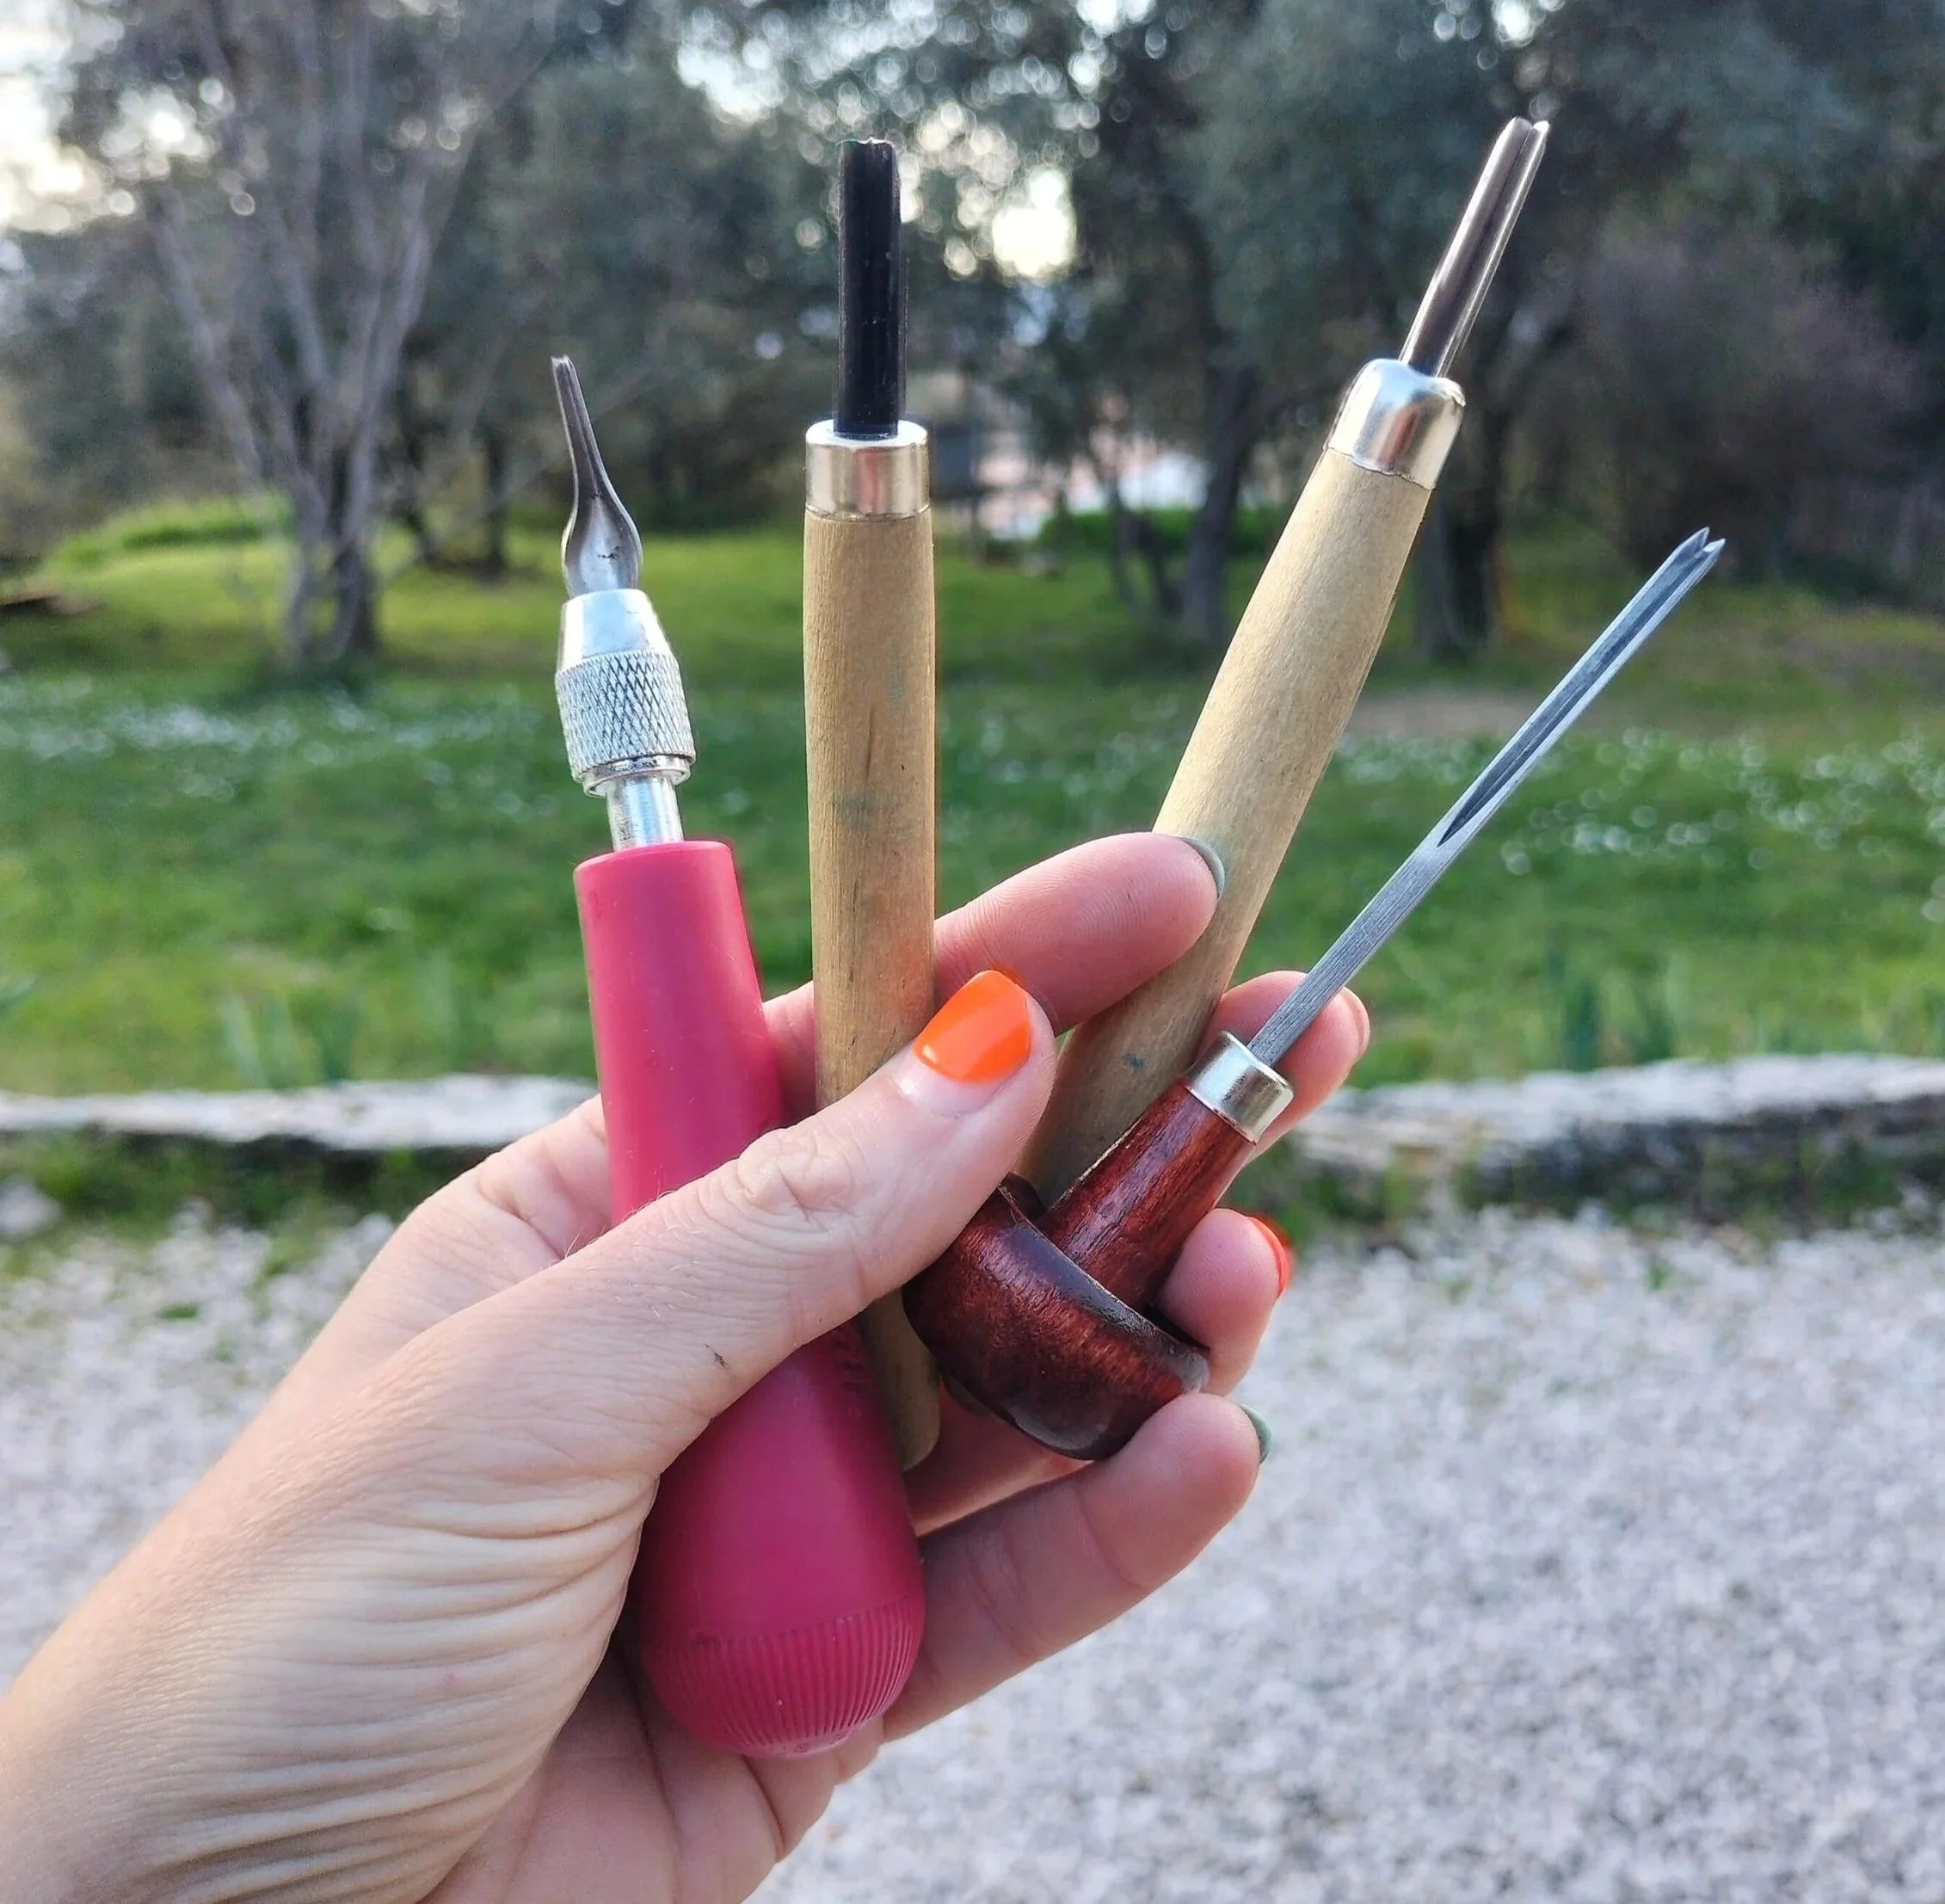
A variety of carving tools, or gouges. Left to right : a Speedball pink one, two simple wooden ones that I use in the studios (my fav) and a professional mushroom head one. Credit photo Emilie Walsh 2025
For milk carton etching, it's even simpler: just use a compass point instead of buying a drypoint tool! It's just as effective! Another upcycling tip: a large screw with tape for a makeshift handle, a large sewing needle stuck in a cork! But some cheap dry point tools will be available to you in most art shops.
Inking
Unfortunately, it's difficult to substitute printmaking inks with paint, such as acrylic paint, for inking. Printmaking inks are indeed stickier and tackier than paint, and I recommend investing in a small tube of printmaking ink to get started. Always use water-based inks as a beginner and when working at home! Oil-based inks aren't really necessary for linocut and complicate the process and cleanup so much. The brands I recommend are Speedball inks (good, easy to find), Gerstaecker inks (very good texture. You’ll need to buy it online), and finally, my favourites, Schmincke or Cranfield inks, with their waterbased washable collection. You can find the speedball ones in most art shops and the Schmincke and Cranfield at Melbourne Artist Supplies and Melbourne Etching Supplies. I would avoid the Derivan brand, the ink is too liquid and you’ll get mucky prints. For milk carton printmaking, use the same type of ink. Simply start with a tube of your preferred brand in black, and you'll be able to create amazing results at home.
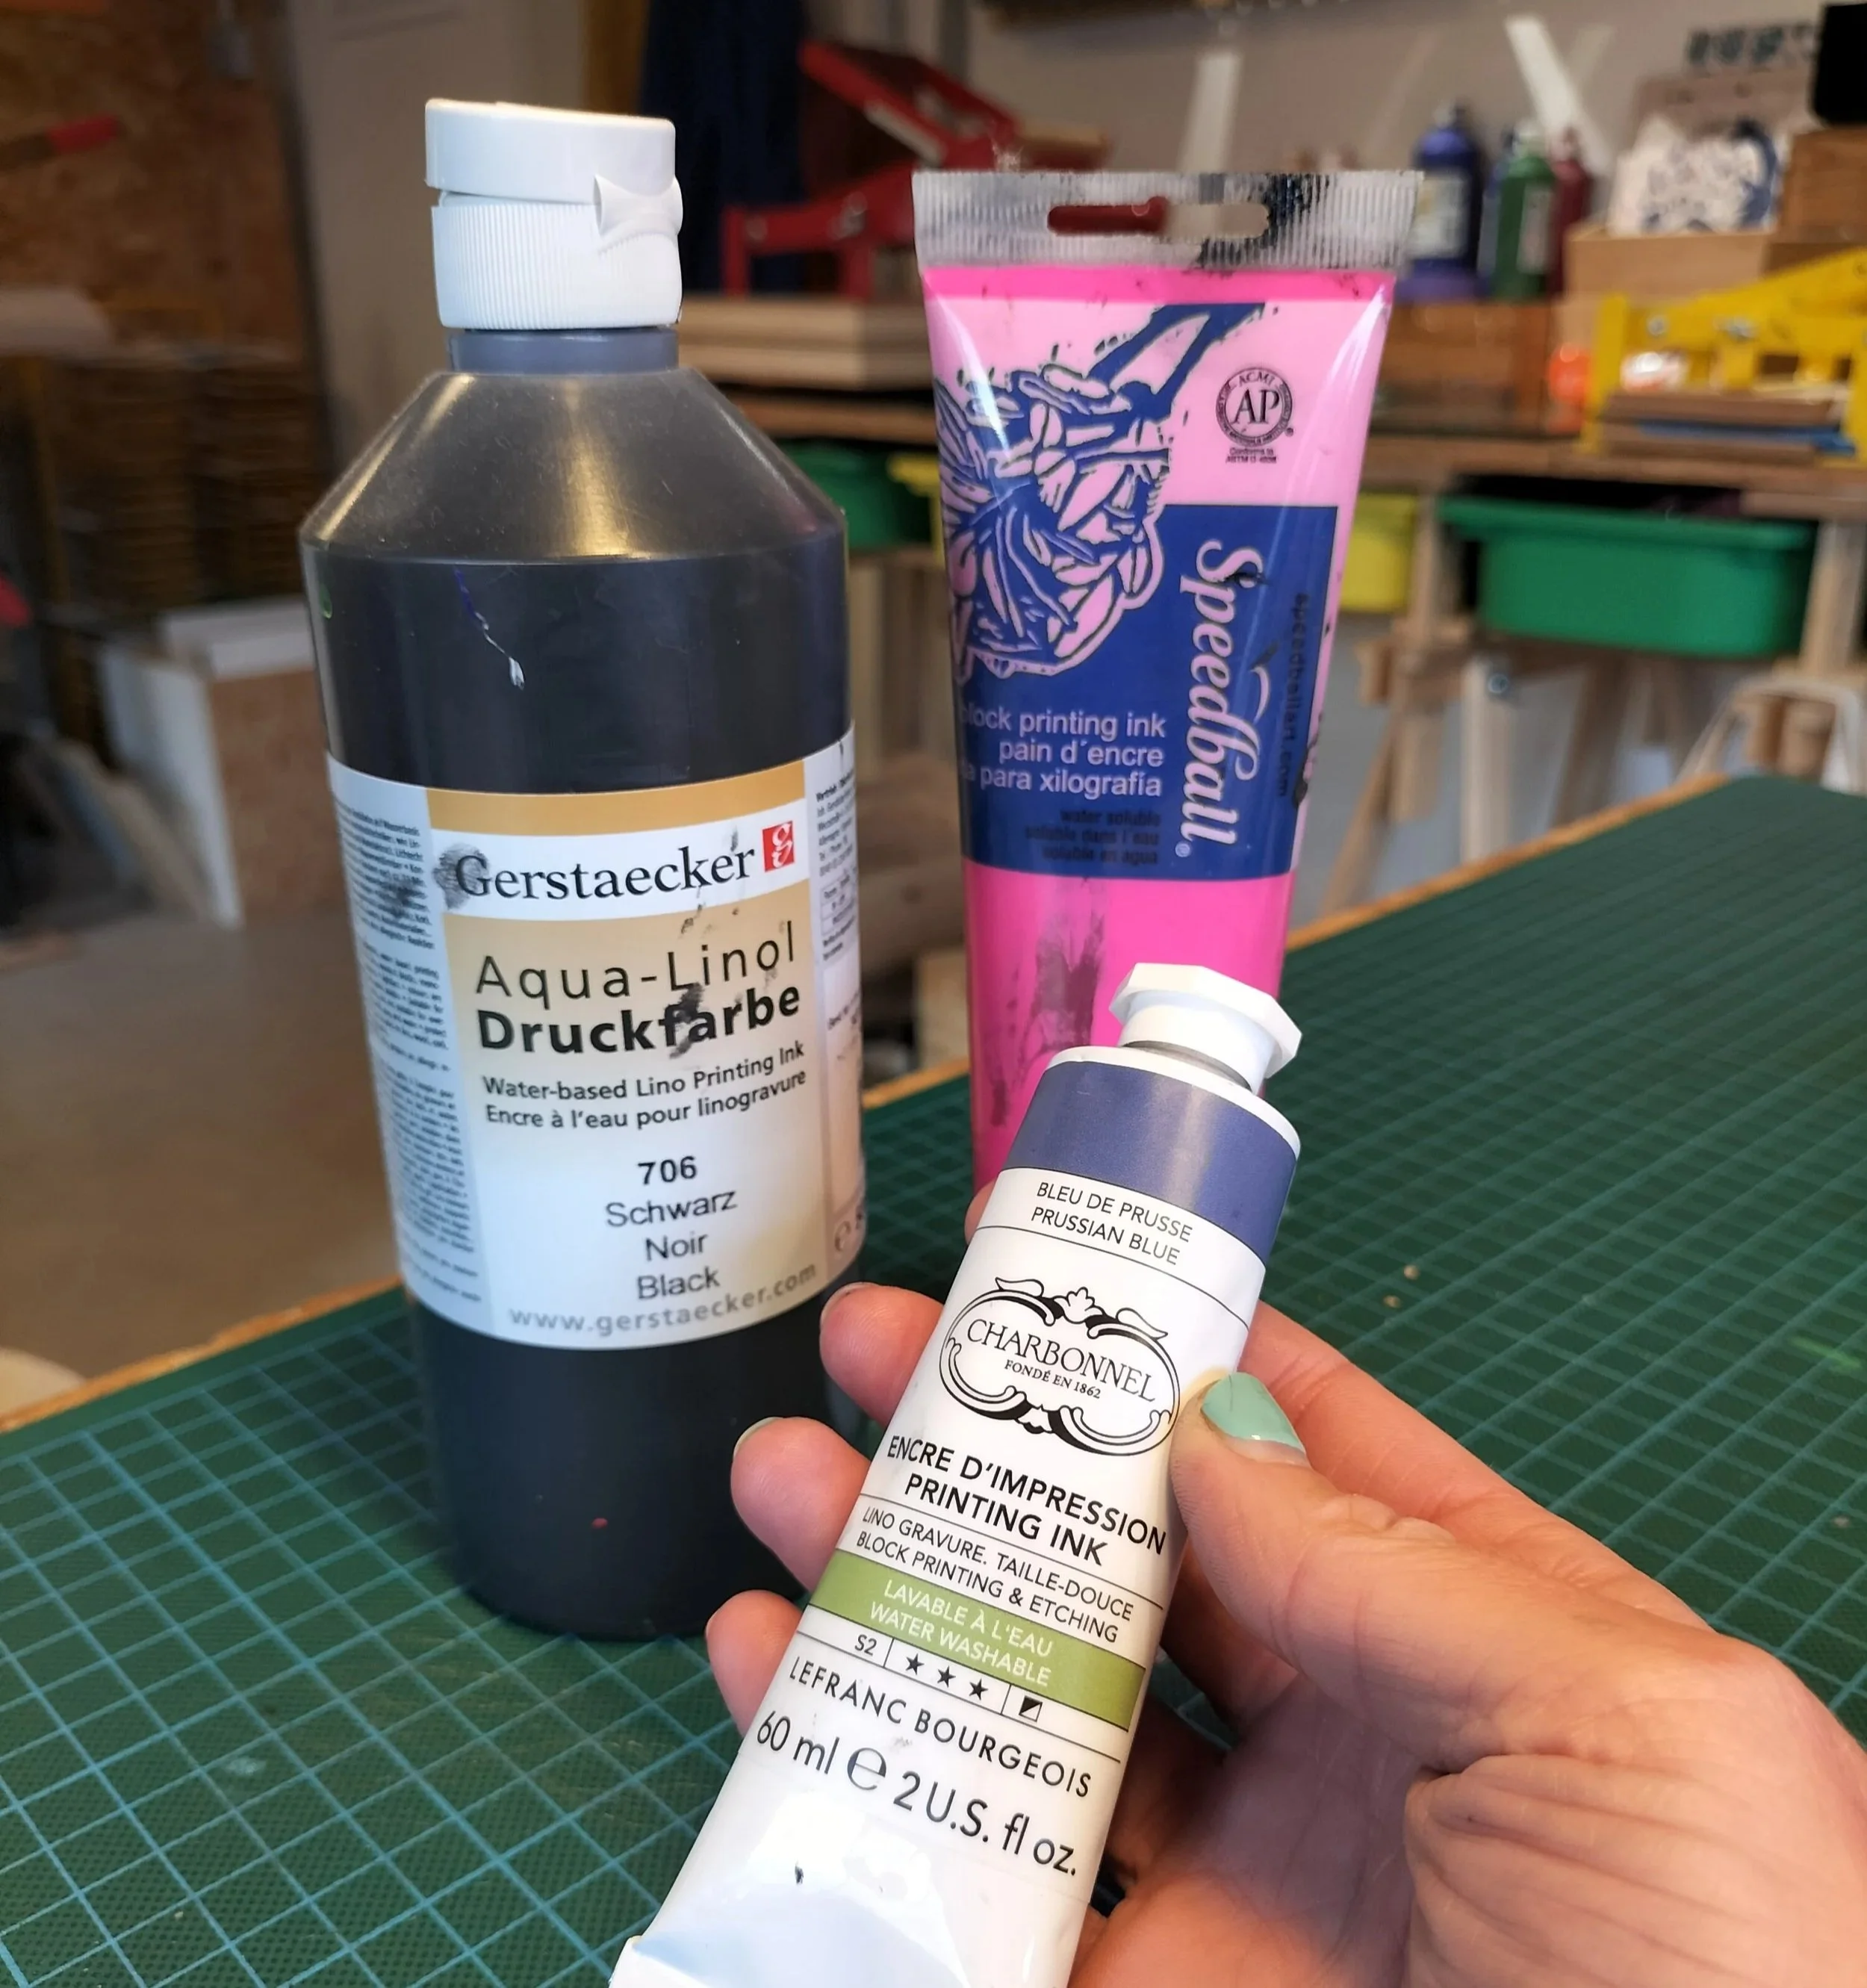
Some printmaking inks I use in the French studios. Photo credit Emilie Walsh 2025
For inking, you'll need a good rubber roller, also called a brayer. I highly recommend the Essdee brand, preferably their blue or black rollers. They're by far the best in my opinion. For textile printing, you can use a foam roller.
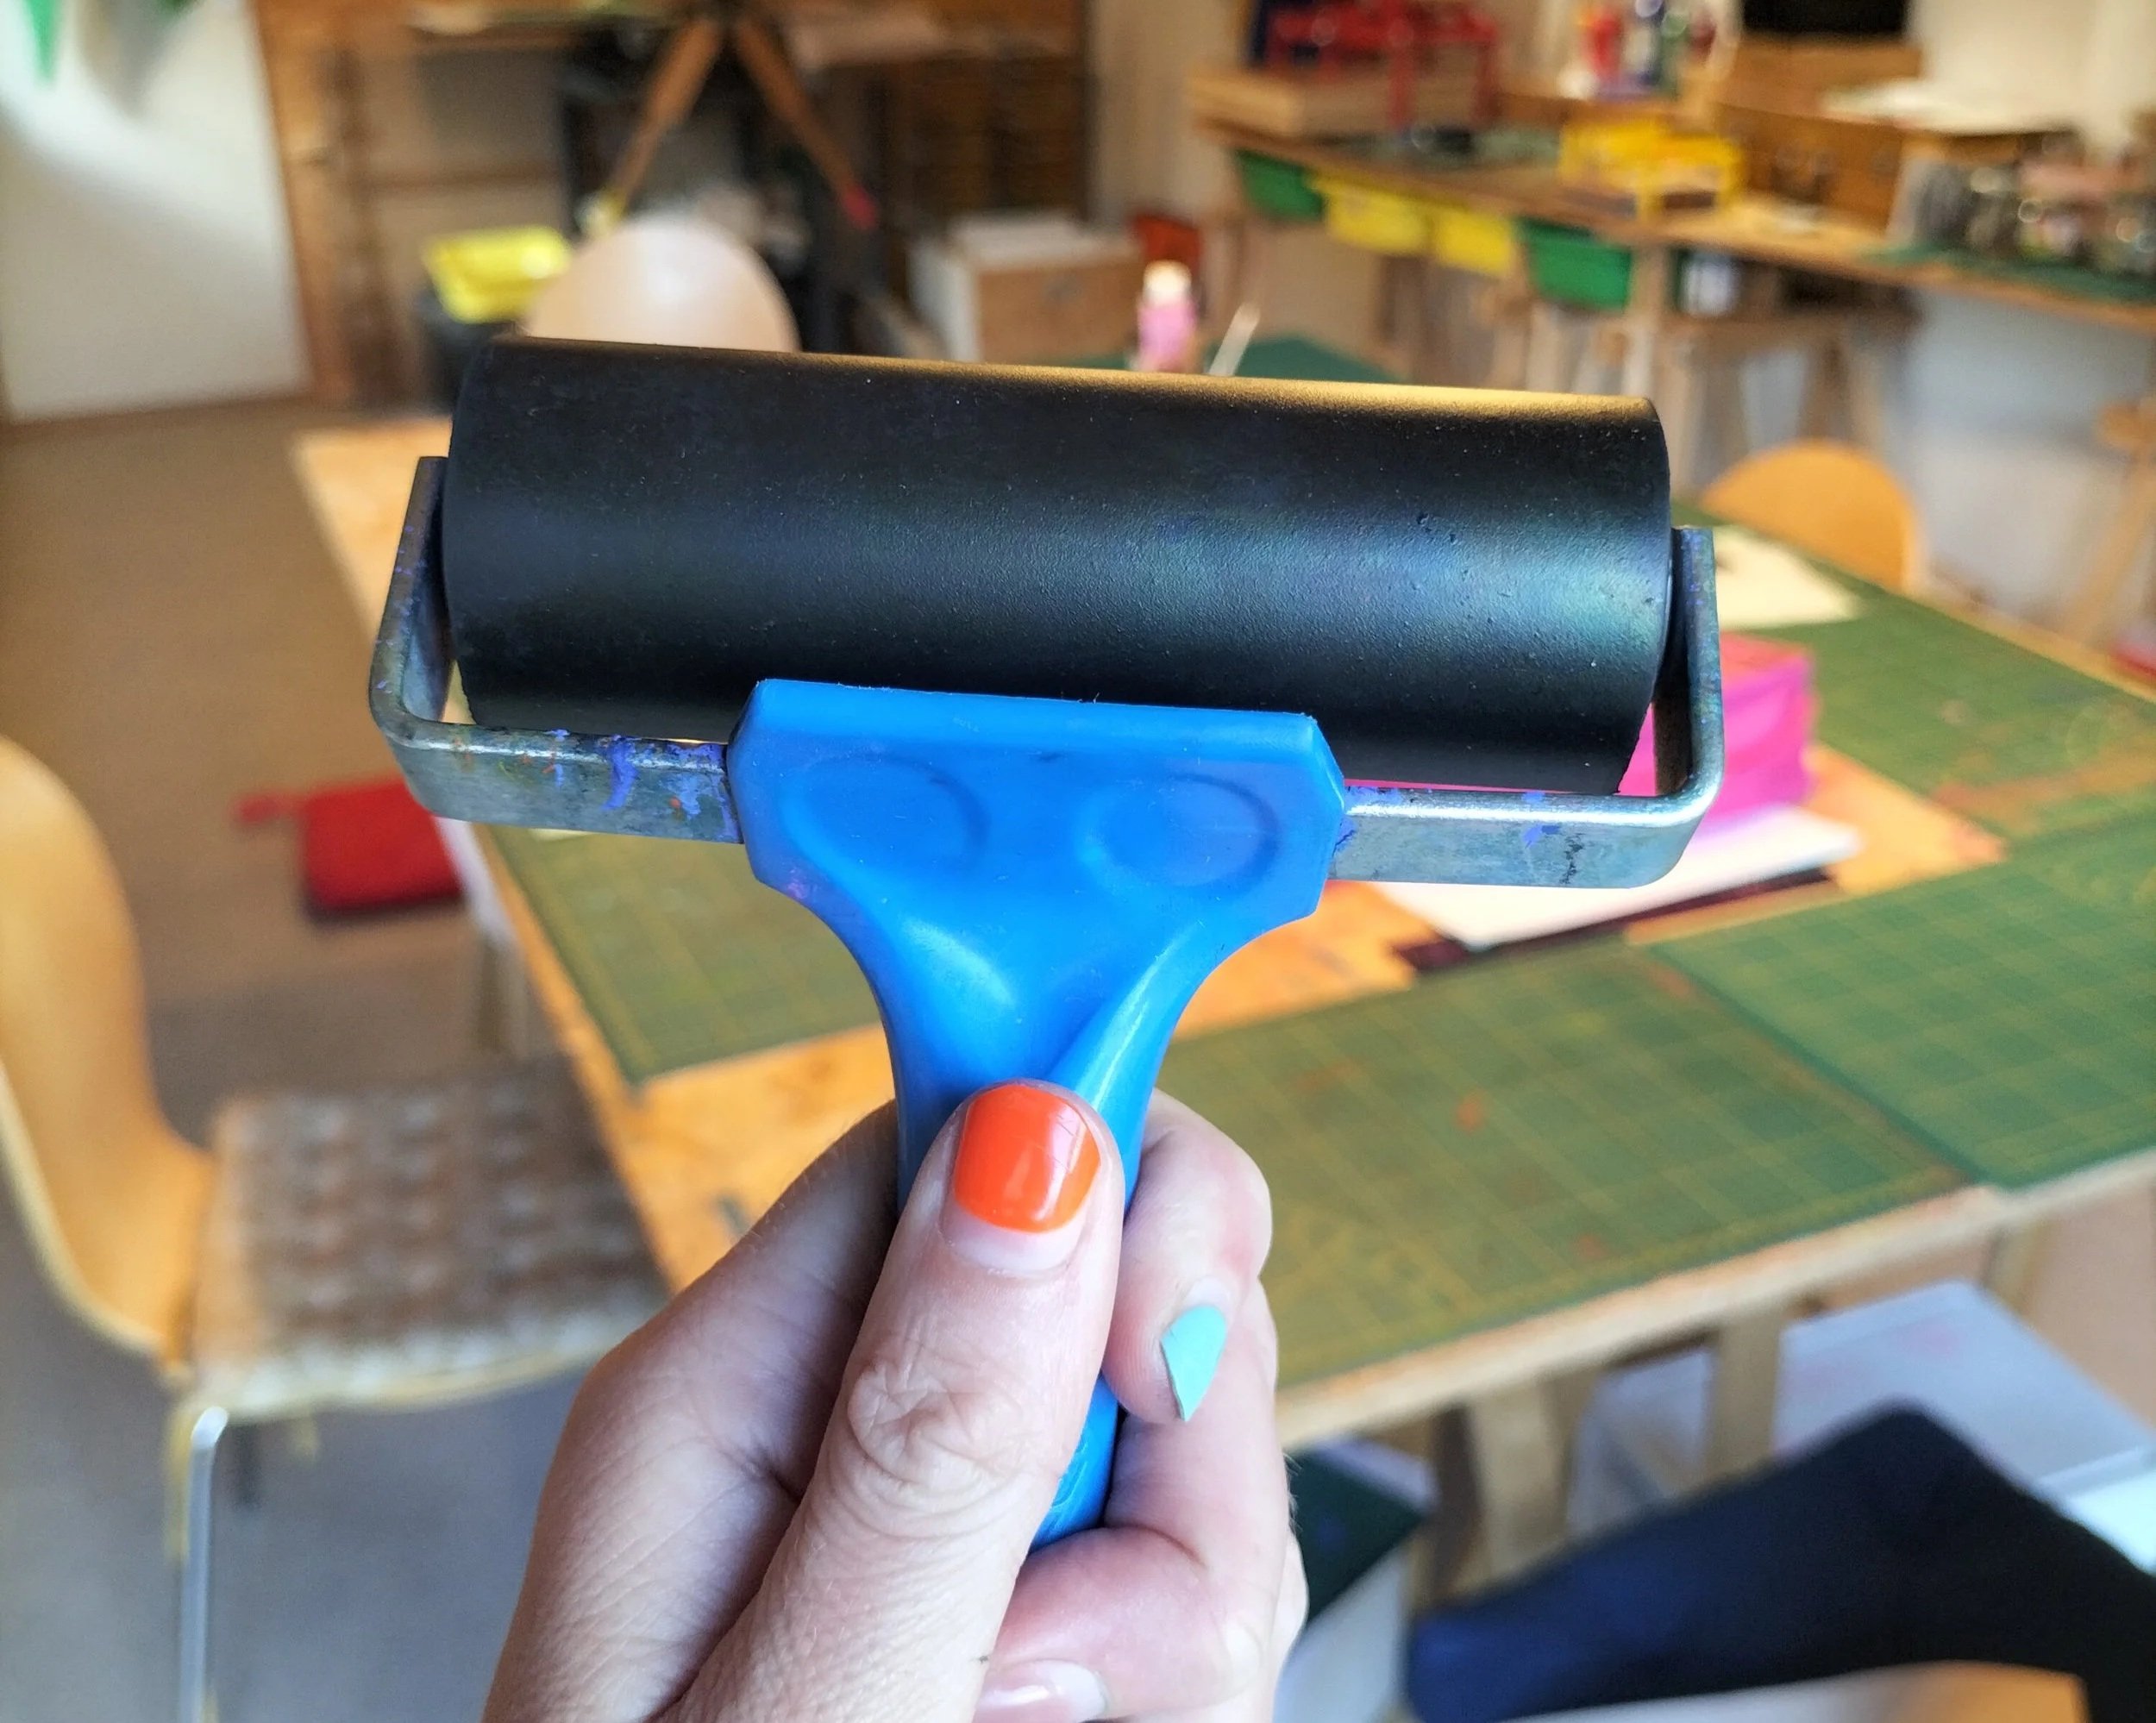
Essdee blue soft roller (or brayer). Credit photo Emilie Walsh 2025
For milk carton printmaking, no roller is necessary. Apply the ink with an old plastic card (credit card, myki, etc.) and tarlatan, that you will find at Melbourne Etching Supplies. If you don't want to invest in tarlatan, any rough cloth or newspaper will do to get started.
To spread your ink, you'll need a smooth surface. In the studio, we work on a glass slab, but for years I've printed from my kitchen and spread the ink on all sorts of makeshift surfaces: mirrors, silicone baking mats, perspex, floppy folders covers, etc. My advice: physically separate your design and carving station from your inking station! You don't want to bring tiny flakes of linoleum into your beautiful layer of ink, risking ruining an entire edition of print.
Finally, I like to use fine arts quality ink pads, that can make your workflow much lighter and quicker and can give great results, especially for smaller prints. And if you get into starting a stamp collection, they are really good to have. I use the Tsukineko brand of ink pads : they are so much better than any office ink pad or craft ink pads! They can be a bit pricey, but will last you so long and are really pigmented. Tsukineko has a variety of different collections and my favourite are the Memento ones and the Versafine ones. Some Spotlight shops stock them but I usually order them online.
Printing
Without a press, there's so much you can do at home! One of my studio’s motto is: 'No press, no problem!' Use your own body to print and become your own press! You can buy tools to hand print, called barrens. Some beautiful traditional ones, such as the Japanese bamboo ones, but really a good old wooden spoon will do the job, or - my personal favourite - a jar lid ! Hand printing gives excellent results, and if you really want to print one of your favourite prints on a press, consider joining a printmaking studio before investing in your own. You’ll learn so much by printing on various presses and most importantly by meeting other printmakers. Firestation in Melbourne is a good place to start, or come and print with me!
For your printmaking paper I recommend getting a roll of Japanese Paper such as Ho-sho paper (Melbourne Etching Supplies). It’s affordable enough and will get you hundreds of hand prints ! You can experiment with a variety of paper as well : I like to print on brown paper, like kraft paper, as I think linocut always looks great on those. If you want to get slightly fancier paper, I recommend starting with some Fabriano paper. It’s the standard for printing with a press, it has a lovely smooth surface and is the entry price for good quality printmaking paper. You can get a large pad of 250GSM Fabriano paper which is a great place to start, or get large sheets of 300GSM Rosapina Fabriano Paper, that comes in white and ivory. If you have some 300GSM watercolour paper you can also give that a crack for printing, but I would recommend getting smooth watercolour paper, such as the ‘hot press’ ones, in any brand. Indeed, I do find that the grain and texture can get in the way of the readability of your printed images, and I think smoother finish is usually the way to go when choosing your printmaking paper.
In the end, you can equip yourself to get started by printing at home for $100 or less. Priority is your carving tool, ink and roller, and some plates and paper !
I have printmaking starter kits, with some carving tools, roller, ink sample, plates of lino, wood and rubber, barren, and a selection of paper available to sell at my studio or after my classes. Be in touch if you’re interested!
Have fun printing !